Dehumidifier Hire Auckland, 90L/Day, Free Bonus Fan, Free Delivery
Free bonus fan • Free delivery • Free moisture readings
Dehumidifier hire Auckland for homes, construction and flood recovery — fast, simple, and great value. From $75 + GST/day, with free bonus fan, free delivery, and free moisture readings on every rental. Same-day drop-off across North Shore, West, East, and South Auckland. Call 021-877-504 for dehumidifier rental Auckland now.
Popular Drying Packs (Free Delivery)
Simple, effective combinations most customers need. We’ll tweak on-site if required.
Flood Restoration Pack
Large 90 L dehumidifier + Free Fan
$75 + GST per day
Construction Drying Pack (Most Popular)
Large 90 L dehumidifier + 2 Fans
- Lock-up chain & padlock
- Multi-plug
- Extension lead
- Moisture test
- $150 + GST / day
- 3-7 day: $400 + GST
Call Now: 021-877-504
- IICRC-certified technicians 24/7
- Free Site Survey & Drying Plan
Not sure what you need? We’ll do a quick phone/video survey (or onsite when required), moisture-map the space, and give you a simple placement plan—free. You’ll know where each dehumidifier and fan goes, target humidity, and expected time to dry.
Commercial Dehumidifier Rental Service
-
Same-day Auckland-wide delivery, 7 days
-
IICRC-certified advice and 24/7 support
-
Free phone/video survey or onsite visit to size gear and plan placement
-
Free site survey & engineered drying plan with clear RH targets
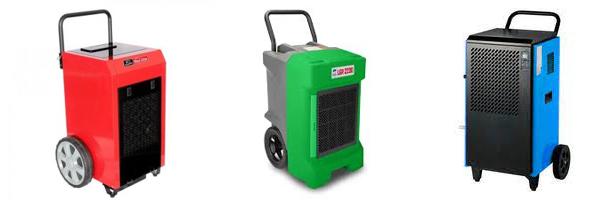
Our Dehumidifiers
We stock industrial, commercial, and domestic dehumidifiers for any job — from a damp room “dehumidifier to rent near me” to large dehumidifier hire for warehouses.
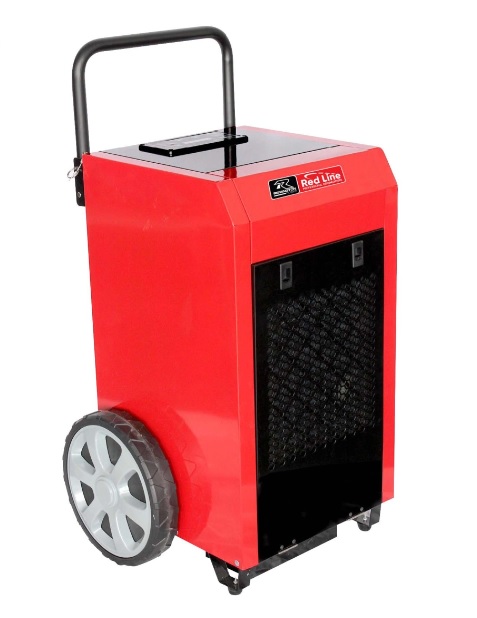
Industrial & Commercial Dehumidifier Hire / Bonus Fan
Removes up to ~90 L/day with automatic pump-out for continuous drain. Ideal for flood restoration, industrial dehumidifier rental, and big commercial areas. Every unit includes a free fan to speed airflow along wet surfaces. From $75 + GST/day.
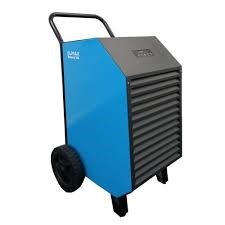
Remington RPDH90: Hire Now.
- Capacity: 90 Liters/Day
- Cost: $75 + GST daily
- Ideal For: Large commercial spaces, industrial warehouses, flood restoration.
- Features: High airflow, automatic pump-out, robust construction
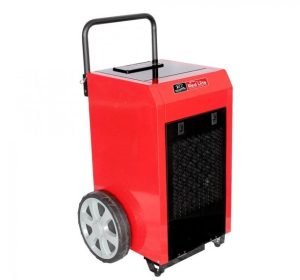
Almax Commercial Dehumidifier: Hire Now.
- Capacity: 90 Liters/Day
- Cost: $75 + GST daily
- Ideal For: Spacious commercial areas, industrial warehouses, and flood restoration.
- Features: Powerful airflow, automatic pump-out system, durable construction.
Large Heavy-Duty Dehumidifier Hire
High-output units for construction drying and open-plan spaces. Great when you need faster dry-down than a domestic unit. Ask about multi-unit commercial dehumidifier rental bundles for whole-level jobs.
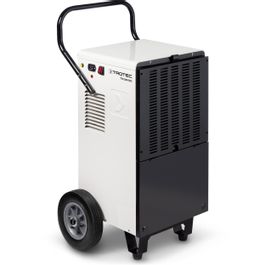
TTK 380 ECO: Hire Now.
- Capacity: 80 Liters/Day
- Cost: $75 + GST daily
- Ideal For: Medium to large industrial spaces, commercial offices
- Features: Portable yet powerful, suitable for construction sites
Portable Domestic Dehumidifier Hire (Nearby)
Quiet, efficient portable dehumidifier rental for bedrooms, offices, and apartments. Perfect for “dehumidifier hire near me” when you just need a single room dry and comfortable. Minimum 3 days.
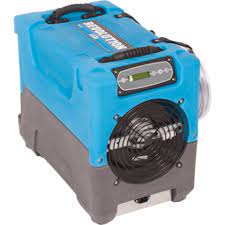
DRI-EAZ BD 2500: 63 Liter/ Day, $75 + GST daily. Min 3 days. Hire Now.
- Capacity: 63 Liters/Day
- Cost: $75 + GST daily
- Ideal For: Small to medium domestic spaces, single rooms
- Features: Quiet operation, energy-efficient, easy to move
Desiccant Dehumidifier Rental
Choose desiccant dehumidifier rental for cold, unheated sites (≈12–15 °C or below) or when you must reach a low dew-point (timber/gypsum targets). We supply ducting and placement guidance — ideal for timber frame drying and winter builds.
Crawl-Space Dehumidifier Hire
Compact units for subfloors/basements and tight areas. Long drain hoses available. We’ll set airflow and RH targets so you know when it’s dry. (Yes, we do rent crawl space dehumidifiers.)
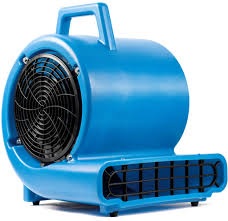
Discover our carpet dryer models.
“Ready to dry out? Call 021-877-504 for a FREE dehumidifier rental quote now! 💨”