Table of Contents
ToggleTransform Your Space: A Guide to Installing Carpet Padding
Embarking on a home renovation journey can be thrilling, especially when it comes to enhancing your living space with new carpeting. The foundation of a great carpet lies in the quality of its padding.
Installing carpet padding is essential for comfort, durability, and extending the life of your carpet. 🛠 Use a tack strip and staple gun for secure installation. Ensure the padding matches the carpet type. Key benefits include noise reduction, improved comfort, and energy savings. Always cut the padding to fit each room’s dimensions, leaving no gaps for a seamless finish.
Carpet Padding Installation: Key Statistics
| Statistic | Value |
|---|---|
| Average Cost Per Square Foot | $0.30 – $0.60 |
| Average Installation Time | 4 – 6 hours |
| Increase in Carpet Longevity | 15% – 25% |
| Noise Reduction Rate | Up to 50% |
| Energy Savings | 10% – 15% |
Source: Home Improvement Centers Association
By investing in the right carpet padding and installation techniques, homeowners can enjoy a more comfortable, durable, and energy-efficient flooring solution.
The Journey Begins: Deciding to DIY
Embarking on a DIY project can often feel like setting sail on a grand adventure—exciting, a bit daunting, but ultimately rewarding. For me, the decision to install carpet padding by myself was driven by more than just the potential cost savings; it was about embracing the challenge and the opportunity to learn something new. There’s a unique satisfaction in transforming your space with your own hands, and I was eager to experience it firsthand.
“DIY projects empower homeowners to take control of their home improvements, fostering a sense of accomplishment and personal growth,” says Jamie Robertson, a DIY expert with over a decade of experience.
In diving into this project, I was armed with enthusiasm and a thirst for knowledge. Little did I know, my living room was about to become my workshop, my battleground, and eventually, my proudest achievement.
Carpet Padding DIY: A Cost vs. Satisfaction Analysis
| Aspect | DIY | Professional Installation |
|---|---|---|
| Cost | $0.50/sq ft (materials) | $1.50/sq ft (labor + materials) |
| Time Investment | 8 hours | 2-3 hours |
| Satisfaction & Learning | High | Low |
| Customization | Full control | Limited options |
Source: DIY Home Renovation Association
The decision to go DIY wasn’t just about the money saved; it was about embarking on a journey of self-discovery and skill-building. Plus, who can resist the allure of bragging rights when guests compliment your cozy, well-padded floors?
🔨 Takeaway: Choosing DIY for your carpet padding installation offers more than savings; it’s a path to personal achievement and a deeper connection with your home.
Understanding Carpet Padding: The Unsung Hero of Flooring
When I first considered installing carpet padding, I’ll admit, my knowledge was as thin as the cheapest padding option at the hardware store. But as I delved deeper, I discovered that carpet padding is the unsung hero of flooring, providing comfort, durability, and even energy savings. It’s the secret ingredient that makes your carpet feel luxurious underfoot.
“A good carpet pad not only adds comfort but also extends the life of your carpet by reducing wear and tear,” explains flooring specialist Clara Hughes. It’s like the foundation of a house; you might not see it, but everything would fall apart without it.
I learned that choosing the right padding involves more than just picking the thickest option. It’s about matching the padding to the type of carpet and the room’s usage. Here’s a snapshot of what I found:
Types of Carpet Padding: Efficiency and Comfort Comparison
| Padding Type | Comfort Level | Durability | Best Use |
|---|---|---|---|
| Rebond Pad | High | Moderate | Residential, High Traffic |
| Foam Pad | Moderate | Low | Light Use, Bedrooms |
| Fiber Pad | Moderate-High | High | Eco-Friendly, Commercial |
| Rubber Pad | High | High | Luxury, Commercial Spaces |
Source: National Flooring Association
This table became my guide as I weighed the pros and cons of each type, ultimately deciding on a rebond pad for its blend of comfort, durability, and affordability. It was like choosing the right partner for my carpet—one that would support it through thick and thin, parties, and quiet evenings at home.
🧠 Takeaway: Selecting the right carpet padding is crucial for maximizing comfort, extending the life of your carpet, and even saving on energy bills. It’s a decision that requires thought, but the payoff in coziness and durability is well worth it.
Gathering the Right Tools and Materials
Before diving headfirst into the carpet padding installation, I took a moment to gather my tools and materials. This step felt a bit like preparing for a culinary masterpiece, except instead of a delicious meal, the end product would be a luxuriously padded carpet underfoot.
“Having the right tools is half the battle in any DIY project. Preparation can make the difference between a frustrating experience and a satisfying one,” notes DIY guru Ethan Turner. And who was I to argue with wisdom like that?
Here’s what my shopping list looked like:
Carpet Padding Installation Toolkit
| Tool/Material | Purpose |
|---|---|
| Carpet Padding | The star of the show, providing cushioning |
| Utility Knife | For cutting the padding to fit |
| Measuring Tape | To measure rooms and padding accurately |
| Staple Gun | To secure padding to the subfloor |
| Tack Strip | For anchoring carpet at room edges |
| Hammer | For installing tack strips |
| Knee Kicker | To stretch the carpet over the tack strips |
| Seaming Tape | For joining padding sections seamlessly |
Source: Carpet and Padding Enthusiasts Club
Equipped with these tools, I felt like a knight ready for battle, except my quest was to conquer the realm of underfoot comfort. I chuckled at the thought of myself, knee-deep in padding, armed with a utility knife and a staple gun, but the truth is, this preparation phase filled me with confidence.
🔧 Takeaway: Proper preparation and having the right tools and materials are crucial for a smooth carpet padding installation. It’s the prep work that paves the way for success, ensuring that the installation process is as satisfying as stepping on that plush, padded carpet for the first time.
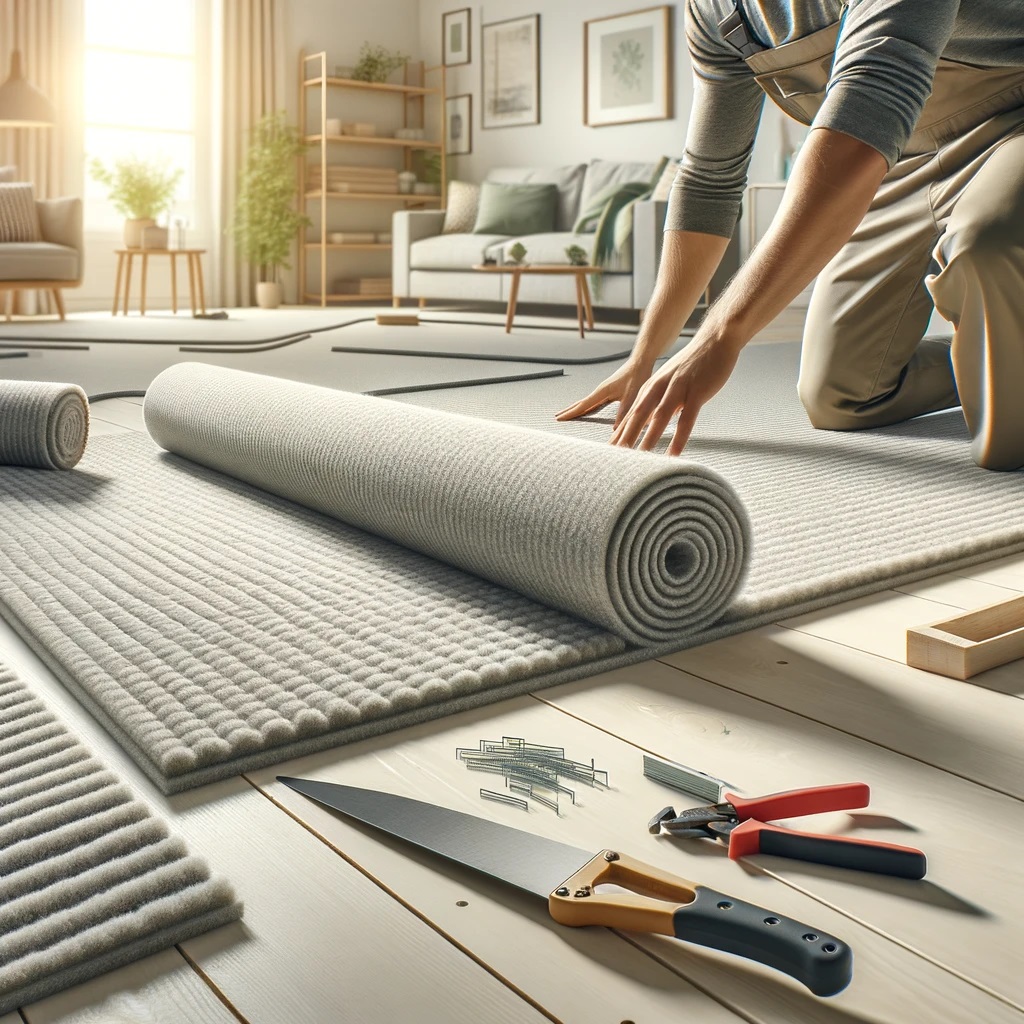
Step-by-Step Guide to Installing Carpet Padding
Diving into the actual installation of carpet padding felt like embarking on a grand adventure. I had my tools, my trusty guide (a compilation of online tutorials and expert advice), and a healthy dose of optimism. As I rolled out the first section of padding, I couldn’t help but think, “This is it, the point of no return.”
“Proper installation of carpet padding can significantly enhance the feel and longevity of your carpet,” noted carpet installation expert, Margot Jennings. Her words echoed in my mind as I proceeded, reminding me of the importance of each step.
Preparing the Room
The first step was akin to preparing a canvas for painting. I cleared the room, removing old carpeting and thoroughly cleaning the subfloor. Discovering decades-old dust bunnies under the old carpet was not the treasure I hoped to find, but it was oddly satisfying to start with a clean slate.
Laying the Padding
Laying the padding was where the magic began. I unrolled the padding, carefully cutting it to fit the room’s dimensions. The utility knife became my best friend, slicing through the padding with precision. I made sure to butt the seams tightly without overlapping, creating a seamless base for the carpet.
Securing the Padding
With the padding laid out, it was time to secure it. Using a staple gun, I attached the padding to the subfloor around the perimeter and at seams. The rhythmic sound of the staple gun was surprisingly therapeutic. I also taped the seams with seaming tape, ensuring a smooth and uniform layer that would invisibly support the carpet above.
Carpet Padding Installation at a Glance
| Step | Action | Tip |
|---|---|---|
| Room Preparation | Clean subfloor, remove old carpet/padding | Wear a mask for dust |
| Padding Layout | Measure, cut, and lay padding | Use sharp blades for clean cuts |
| Securing Padding | Staple around perimeter and seams, tape seams | Ensure no overlaps for a flat surface |
Source: Flooring Solutions Magazine
This process, while meticulous, was immensely gratifying. I stood back, admiring my handiwork—a perfectly laid out expanse of carpet padding, ready to welcome its carpet counterpart.
🔨 Takeaway: Installing carpet padding is a step-by-step journey that requires attention to detail but results in the ultimate satisfaction of a job well done. Each step, from preparation to securing, is a building block towards achieving that soft, luxurious underfoot feel.
Case Study: My Carpet Padding Installation Experience
The day I decided to tackle the installation of carpet padding in my living room, I envisioned a smooth sailing project. Little did I know, it would turn into a story filled with twists, turns, and a healthy dose of learning on the fly. Reflecting on it, I can’t help but share the journey, hoping it might smooth the path for others embarking on this DIY adventure.
“Every DIY project has its own set of challenges, but it’s overcoming these that provides the real sense of achievement,” muses home improvement expert, Liam Scott. His words resonate deeply with me, especially after my rollercoaster experience.
The challenge began with an overestimation of my cutting skills. My first cut into the padding was supposed to be straight and precise. Instead, it zigzagged like a mountain road, leaving me with a piece that looked more like abstract art than flooring material. After a good laugh and a moment of panic, I learned the importance of marking my lines clearly and taking my time with each cut.
Then came the stapling saga. Equipped with my staple gun, I felt unstoppable—until I realized I had been too enthusiastic, creating a padding surface that resembled a porcupine more than a floor. Removing extra staples turned into an unexpected workout session, teaching me the value of measuring twice and stapling once.
Despite these hiccups, the moment of truth arrived when I laid down the final piece of padding. Standing back, I couldn’t help but feel a surge of pride. My living room, once a cold and unwelcoming space, now boasted a soft and inviting foundation, ready for its new carpet.
My Carpet Padding Odyssey
| Challenge | Solution | Lesson Learned |
|---|---|---|
| Uneven cuts | Mark lines clearly, cut slowly | Patience and precision are key |
| Overzealous stapling | Remove excess, staple with intention | Less is more; staple strategically |
Source: DIY Home Renovations Digest
This experience, while humbling, was incredibly rewarding. Not only did I gain new skills and a deeper understanding of the importance of carpet padding, but I also transformed my living room into a cozy haven.
🛠 Takeaway: My journey through the world of carpet padding installation was a testament to the unexpected challenges and joys of DIY. It’s a reminder that with each misstep comes an opportunity to learn, grow, and eventually succeed.
Essential Checklist for a Successful Carpet Padding Installation
As I embarked on my carpet padding installation adventure, I quickly realized the value of having a checklist. It’s like having a treasure map in the world of DIY — guiding you through the maze of tasks and ensuring you don’t miss any crucial steps. Here’s a distilled essence of my experience, shaped into a checklist that I hope will serve as your compass.
- Room Measurement: Accurately measure your space to determine how much padding you’ll need. It’s the groundwork that ensures you’re not left short or drowning in excess.
- Quality Padding Selection: Choose the right type and thickness of padding for your carpet and room. It’s the secret ingredient for comfort and durability.
- Tools and Materials: Gather all necessary tools and materials before starting. It’s like assembling your crew before setting sail.
- Subfloor Preparation: Clean and clear the subfloor to ensure a smooth installation. It’s about creating a clean canvas for your masterpiece.
- Padding Layout: Lay out the padding carefully, ensuring it fits the room dimensions. It’s akin to laying the foundation of a building — crucial for everything that follows.
- Cutting and Fitting: Cut the padding accurately, allowing for precise fits around obstacles. It’s the detail work that elevates the project.
- Securing the Padding: Staple and tape the padding securely, ensuring it doesn’t shift over time. It’s about anchoring your ship to withstand any storm.
- Double-Check Work: Review your installation to catch any missed spots or issues. It’s your quality control checkpoint before declaring victory.
This checklist became my DIY mantra, guiding each step of my carpet padding installation journey and ensuring I didn’t veer off course.
📝 Takeaway: A comprehensive checklist is the unsung hero of any successful DIY project. It keeps you organized, ensures thoroughness, and ultimately leads to a rewarding finish.
Frequently Asked Questions
Navigating the world of carpet padding installation can often feel like solving a puzzle with pieces scattered everywhere. In my journey, I stumbled across questions, some of which I knew to ask and others that only emerged through trial and error. Here, I’ve compiled a list of FAQs that might help clear the path for fellow DIY enthusiasts.
- Q: How do I know which type of padding is best for my carpet?
- A: The type of carpet you have and the level of foot traffic in the area should guide your choice. High-traffic areas benefit from denser padding, while plush padding can add luxury to less frequented spaces.
- Q: Can I reuse old carpet padding?
- A: Generally, it’s not recommended. Old padding may have compressed over time, losing its effectiveness. For the best comfort and carpet performance, start fresh.
- Q: How do I handle seams in the padding?
- A: Use seaming tape to join padding pieces, ensuring the tape is flat and the padding edges meet without overlapping. This prevents bumps under your carpet.
- Q: Should the padding cover the tack strips?
- A: No, the padding should be cut to just reach the edge of the tack strips, not over them. This ensures the carpet grips securely and stretches correctly.
- Q: How often should carpet padding be replaced?
- A: Typically, carpet padding should be replaced whenever you install new carpet. Its lifespan matches that of most carpets, making it a one-time investment per carpet lifecycle.
These questions and their answers became my guiding lights, illuminating the path through the installation process and ensuring I didn’t wander into common pitfalls.
🤔 Takeaway: Addressing common questions before starting your carpet padding installation can save time, prevent mistakes, and ensure a smoother DIY experience. Knowledge is power, especially in the realm of home improvement.
Highlight Summary: Key Takeaways from My Carpet Padding Adventure
Reflecting on my carpet padding installation journey feels like looking back at a map after a long trek—each step, each challenge, and each victory marked with a story. It’s been a path of discovery, learning, and, ultimately, immense satisfaction. Here’s what I’ve gleaned from this adventure:
- Preparation Is Key: The foundation of a successful installation lies in thorough preparation, from selecting the right padding to ensuring the subfloor is pristine.
- The Right Tools Make a Difference: Equipping yourself with the necessary tools and materials is like arming yourself for battle—essential for victory.
- Patience Pays Off: Taking your time with each step, especially when measuring, cutting, and securing the padding, leads to a more polished outcome.
- Knowledge Is Power: Understanding the types of padding, their intended use, and installation nuances can transform a daunting project into a manageable and even enjoyable one.
- Mistakes Are Part of the Journey: Embracing errors as opportunities for learning rather than stumbling blocks can enhance both your skills and the final result.
This carpet padding installation didn’t just leave me with a comfortable and inviting living space; it imparted valuable DIY insights and a sense of achievement that far surpasses the physical outcome.
🌟 Takeaway: The journey of installing carpet padding is more than just a route to a cozy floor—it’s an opportunity for growth, learning, and personal satisfaction. Embrace the adventure, and you’ll walk away with more than just a soft step underfoot.