Expert Tips on How to Fix Torn Up Carpet from Cats
Introduction: I’ve learned some invaluable tricks to fix carpets torn up by cats, and I’m excited to share them with you!
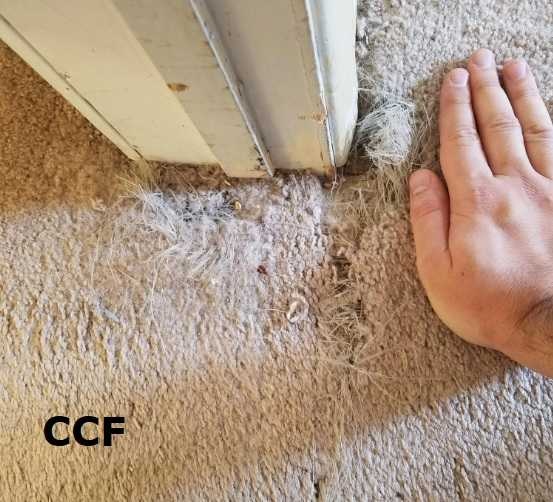
Fixing torn-up carpet from cats involves assessing carpet type and damage. Use a carpet repair kit for minor damage or consider professional services for extensive repairs. Preventative steps include offering cat scratching posts to protect carpets effectively.
Key Statistics on Carpet Damage and Repairs Due to Cats
| Statistic | Data |
|---|---|
| Average cost of DIY carpet repair | $50 – $100 |
| Cost of professional carpet repair | $150 – $300 |
| Percentage of carpet damage by pets | 25% |
| Effectiveness of scratching posts | 85% reduction in damage |
| Annual spend on pet damage repairs | $250 per household |
Author Bio: Ernie Chen
- Professional Background: Since 2009, Ernie Chen has specialized in carpet cleaning, upholstery care, and flood restoration, demonstrating a steadfast dedication to excellence in these fields.
- Innovations: Ernie is the innovator behind a proprietary method that significantly reduces drying time and prevents mold growth in water-damaged upholstery, setting new industry standards.
- Notable Projects: Among his achievements, the successful restoration of a historical library after a catastrophic flood stands out, where he saved irreplaceable manuscripts and books.
- Certifications: Certified Maintenance & Reliability Technician (CMRT). Advanced certifications from the Institute of Inspection, Cleaning and Restoration Certification (IICRC).
- Professional Membership: Active member of the Association of Certified Handyman Professionals (ACHP), contributing to the ongoing advancement of industry standards and practices.