Flooding can change quickly. Focus on people first, then protect the property only when it is safe to do so. This Auckland checklist covers the first actions after a burst pipe, stormwater entry or significant leak.
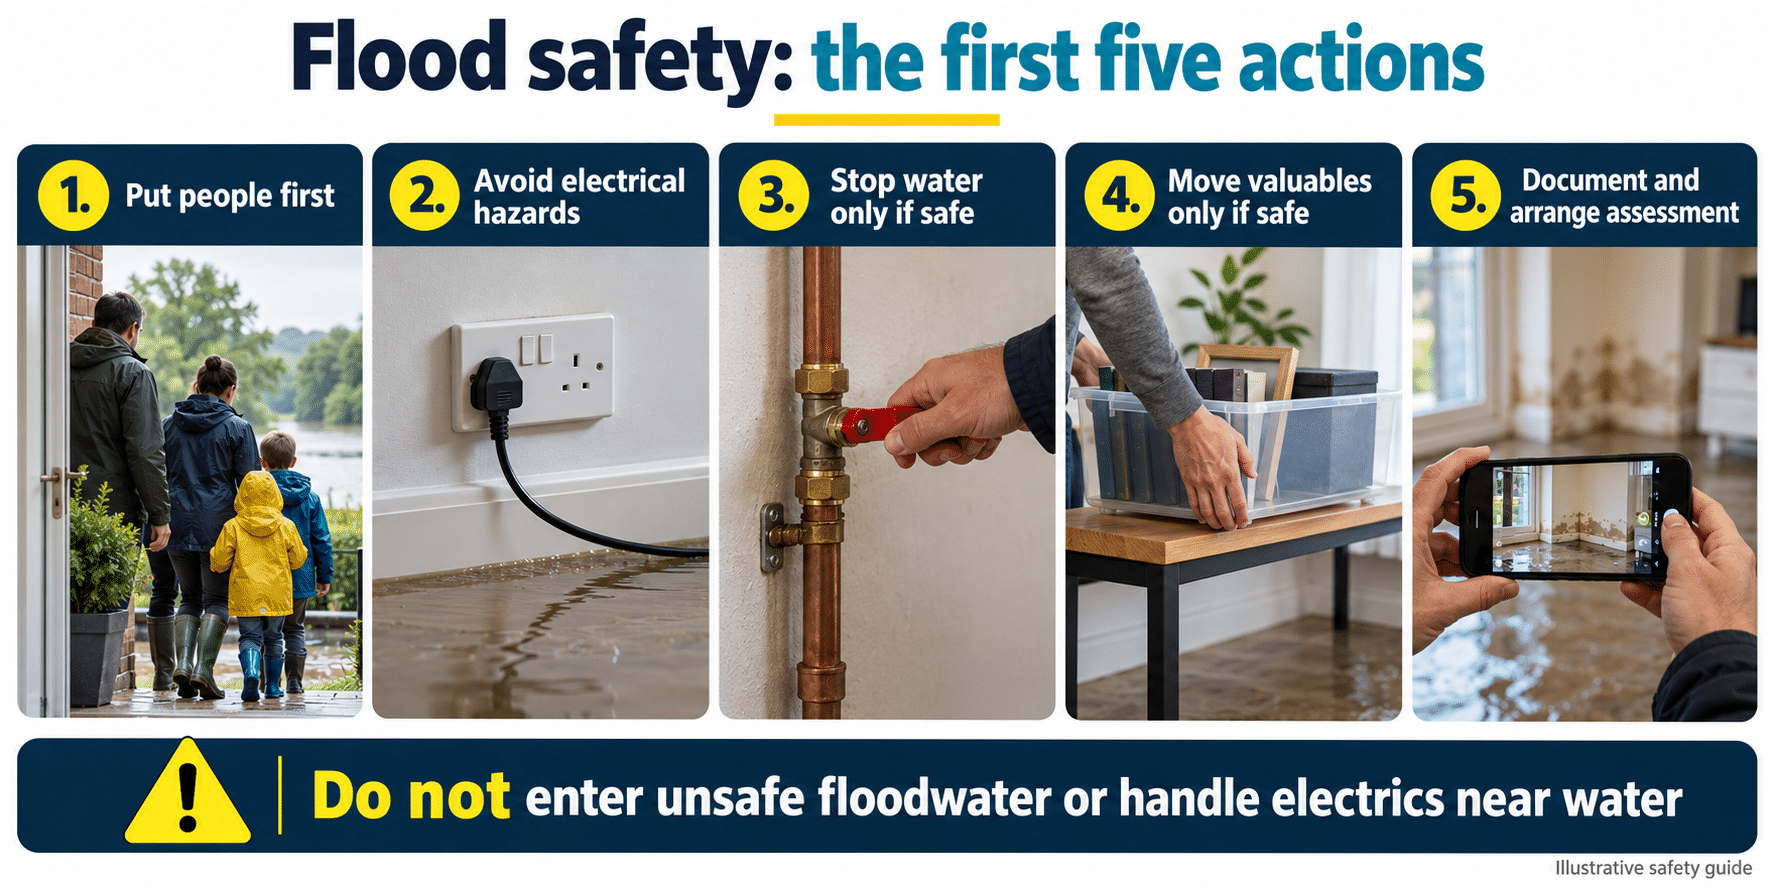
Auckland Flood Safety Checklist: First Actions
- Stay out of dangerous water. Do not walk or drive through floodwater. Keep away from damaged electrical equipment, unstable surfaces and fast-moving water.
- Follow official emergency instructions. Return home only when emergency services or Civil Defence say it is safe. Check the current NZ Civil Defence flood guidance.
- Stop the water source when safe. If the problem is an internal leak, shut off the supply only if you can do so without entering a hazardous area.
- Document the damage. Take photos and short videos of affected rooms, belongings and the apparent source before major cleanup.
- Tell the right people. Contact the insurer promptly. If you rent, contact the landlord or property manager as well.
Protect the Home Without Taking Risks
Move valuables away from water only if it is safe. Avoid electrical hazards, do not disturb suspected asbestos-containing materials and keep children and pets out of affected areas. Floodwater, silt and sewage backups may contain contamination, so use appropriate protective equipment when cleanup is necessary.
Start Drying Promptly
Once the area is safe, remove standing water and begin a suitable drying plan. Carpet can look dry while water remains underneath or has migrated into nearby materials. Read the 60-minute carpet drying action plan, wet underlay guide and moisture mapping guide.
When to Arrange Professional Flood Restoration
Arrange an assessment if water has reached carpet, underlay, wall linings, a subfloor, electrical areas or several rooms. Professional help is especially important when water may be contaminated or hidden moisture is likely. Visit our Auckland flood restoration service for urgent support.
Useful Related Guides
- How to safely shut off utilities during an Auckland flood
- Electrical hazards in standing water
- Contaminated floodwater hazards
- Cleaning belongings after a flood
Frequently Asked Questions
What should I do first after a burst pipe?
Prioritise safety, stop the water only if safe, document the damage and arrange prompt drying. A burst pipe can affect more rooms than the one where it started.
Is a fan enough to dry wet carpet?
It may not be. The right approach depends on how much water is present and whether the underlay or nearby building materials are wet.
Flood safety FAQs
What is the first thing to do when water enters my home?
Put people first. Move away from unsafe water, avoid electrical risks and only attempt to stop the water source when it is safe to do so.
Should I turn off power during a flood?
Do not approach switchboards, plugs or appliances near water. If there is any risk, keep clear and seek advice from an appropriately qualified electrician or emergency service.
What should I photograph for water damage?
From a safe position, photograph the water source if visible, affected rooms, damaged belongings and the water level or spread before major cleanup begins.