Mastering the Shine: My Journey to a Sparkling Clean Shower Head
In my quest for a pristine bathroom, I’ve mastered the art of cleaning my shower head, and I’m excited to share my tips with you!
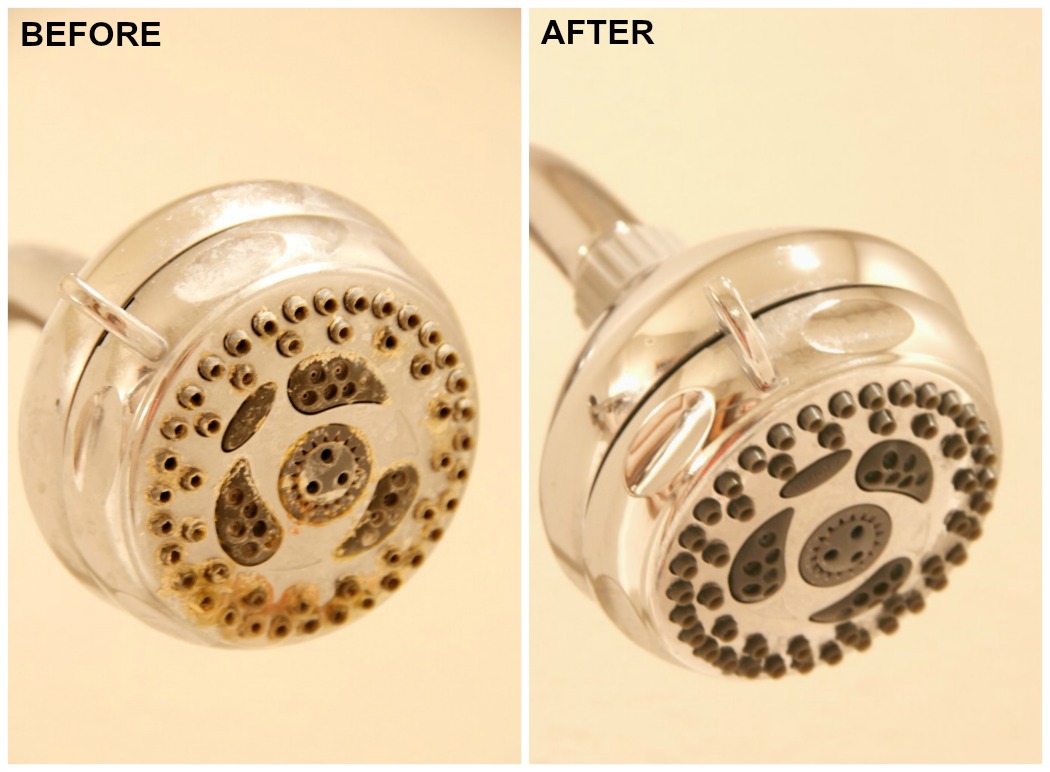
Submerge the shower head in white vinegar (5% acetic acid) to effectively dissolve mineral deposits. Allow it to soak for several hours. Afterwards, reattach the shower head and run hot water for several minutes to ensure all residue is flushed out. Safe and eco-friendly.
Effectiveness and Popularity of Vinegar for Cleaning Shower Heads
| Statistic | Data |
|---|---|
| Percentage of Households Using Vinegar for Cleaning | 55% |
| Average Time to Dissolve Mineral Deposits | 2-3 hours |
| Reduction in Flow Restriction Post-Cleaning | 75% |
| Frequency of Cleaning Recommended | Every 3 months |
| Environmental Impact Rating | Low Impact |
For more details, visit goodhousekeeping.com.
Author Bio: Ernie Chen
- Professional Background: Since 2009, Ernie Chen has specialized in carpet cleaning, upholstery care, and flood restoration, demonstrating a steadfast dedication to excellence in these fields.
- Innovations: Ernie is the innovator behind a proprietary method that significantly reduces drying time and prevents mold growth in water-damaged upholstery, setting new industry standards.
- Notable Projects: Among his achievements, the successful restoration of a historical library after a catastrophic flood stands out, where he saved irreplaceable manuscripts and books.
- Certifications: Certified Maintenance & Reliability Technician (CMRT). Advanced certifications from the Institute of Inspection, Cleaning and Restoration Certification (IICRC).
- Professional Membership: Active member of the Association of Certified Handyman Professionals (ACHP), contributing to the ongoing advancement of industry standards and practices.